Positive and Negative Space Paper Art For Kids
This project will show you what positive space and negative space are in art, and how to create a design using these spaces.
In the case of art, positive and negative don’t mean that a drawing is either good or bad. These terms define the shape of an object as well as the space around it.
Defining Positive Space
Positive space refers to the shape of an object. Look around your room. Every object that you are looking at is creating positive space. Don’t worry about the patterns or details of the item, just focus on the shape of the object.
Select one object and trace its outline with your eyes. If you are looking at something that has a few parts, like a lamp, notice the shape created by the lampshade and the base. If you look at a DVD player, the shape is a flat rectangle.
Defining Negative Space
Negative space refers to the shape around an object. It can be much harder to look at an object and see the space around it. Look around the room for an object up against a wall and try to focus on the shape created on the wall around the object.
You’ve probably noticed that positive and negative spaces are connected. If you look at an object, you are also looking at the shape around the object. You do this automatically when looking at everything, but you don’t stop to think “positive and negative space” – instead you notice a lamp, bed, or chair.
Create a Repeating Design Art Project
This art project will help you see both a shape and space around that shape.
You will need two different colored sheets of construction paper. One sheet should be 12” x 18” and the other sheet 9” x 12”. Use complementary colors for an eye-catching effect. You will also need a stencil, pencil, scissors and a glue stick.
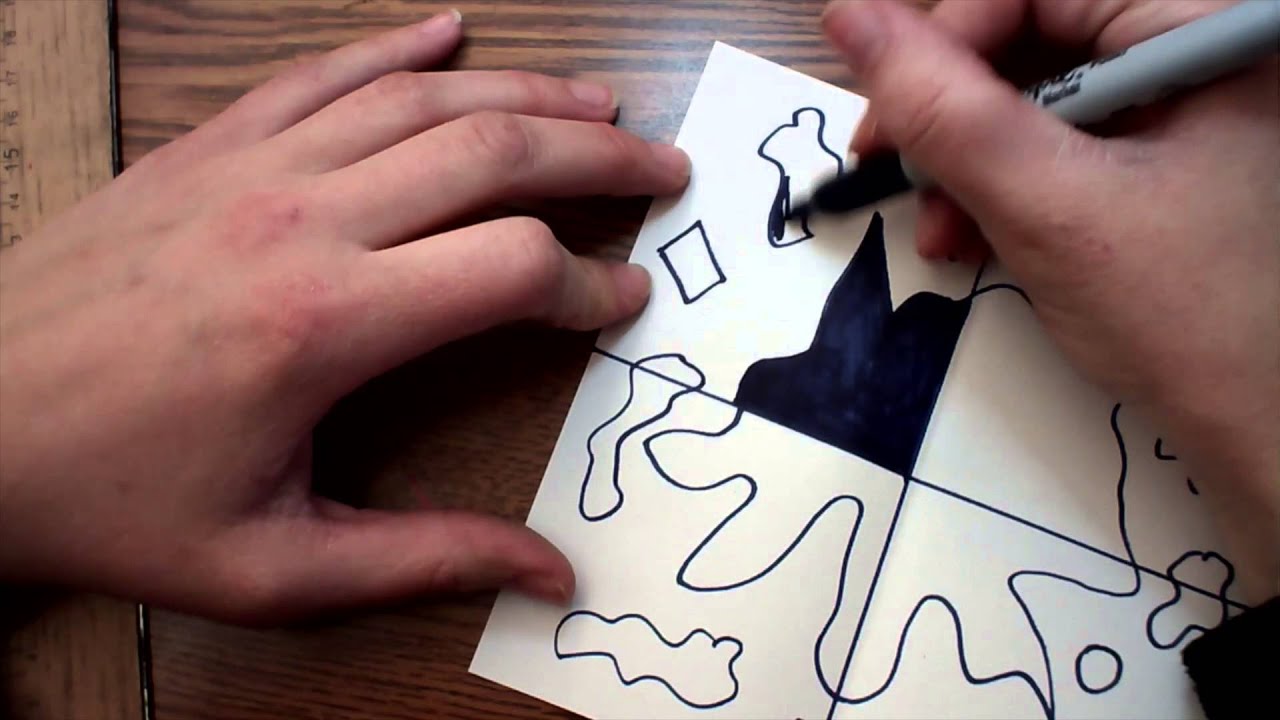
Tracing a stencil for this project is just one of the Fun Ways to Use Stencils. Select a simple stencil design that outlines the object in one piece. If you select a more complicated stencil, say a flower stencil that breaks the plant into individual petals, stems, and leaves, then you will need to connect the pieces so you cut out only one shape. The stencil shape should be a bit smaller than 3” x 4”.
- Fold the 9” x 12” sheet into fourths and unfold.
- On the paper, use the stencil to draw the shape four times, once in each section of the paper.
- Cut the paper into four sections, using the fold lines as your guide.
- Make one snip from the edge of the paper toward the line you drew. Important: You want both the shape and the border around the shape. Cut carefully!
- On the 12” x 18” sheet of paper set one of the border pieces in the upper left-hand corner. Next, set down the shape you cut out. Continue alternating border and shape for two rows.
- Before gluing the shapes down, make certain that the shapes are turned in the same direction. Glue the eight pieces to the paper.
Looking at Positive and Negative Space
Did you notice that the stencil you used showed both negative and positive space? When you were tracing the shape, you were emphasizing the positive space of the object. When you cut the shape from the paper, you were looking at the negative space – the space around the object.
Noticing both positive and negative space is one way to improve your Basic Drawing Skills. Instead of just looking at the object, you can learn to look at the space around the object, which can help you draw shapes that are more accurate.
Look at the art project you created. You can see both the shape of the object as well as the space left behind when you cut out the object – the positive and negative space.