Stenciling for Kids
Stencils are a fun and easy way to add interesting elements to cards, clothing, and other craft projects.
Stencils give young artists and crafters a clear shape to work with, which can boost their creative confidence since they don’t have to worry about drawing details. Stenciled shapes are a fun addition to cards, handmade gift paper, quick ornaments or party decorations, clothing, treasure boxes (cardboard and wood), doorknob hangers, and any other object kids can think of.
Where to Find Stencils
Stencils come in paper, brass, and plastic. They can be found in craft stores as well as online. The type of material the stencils are made from creates different options for craft projects. Paper and cardboard stencils could last a long time if the shapes are traced with pencil and then colored in with marker, crayon, or paint.
For projects that involve painting or embossing with a stencil, paper stencils will wear out faster with the outline becoming soft, making it more difficult to draw a sharp line. Brass stencils tend to feature smaller designs. In a pinch, cookie cutters can be traced, creating clear outlines that can be decorated with the art supplies of choice. Whatever the material, if using paint, crafters should wipe off the excess to prolong the condition of the stencils.
Painting With Stencils
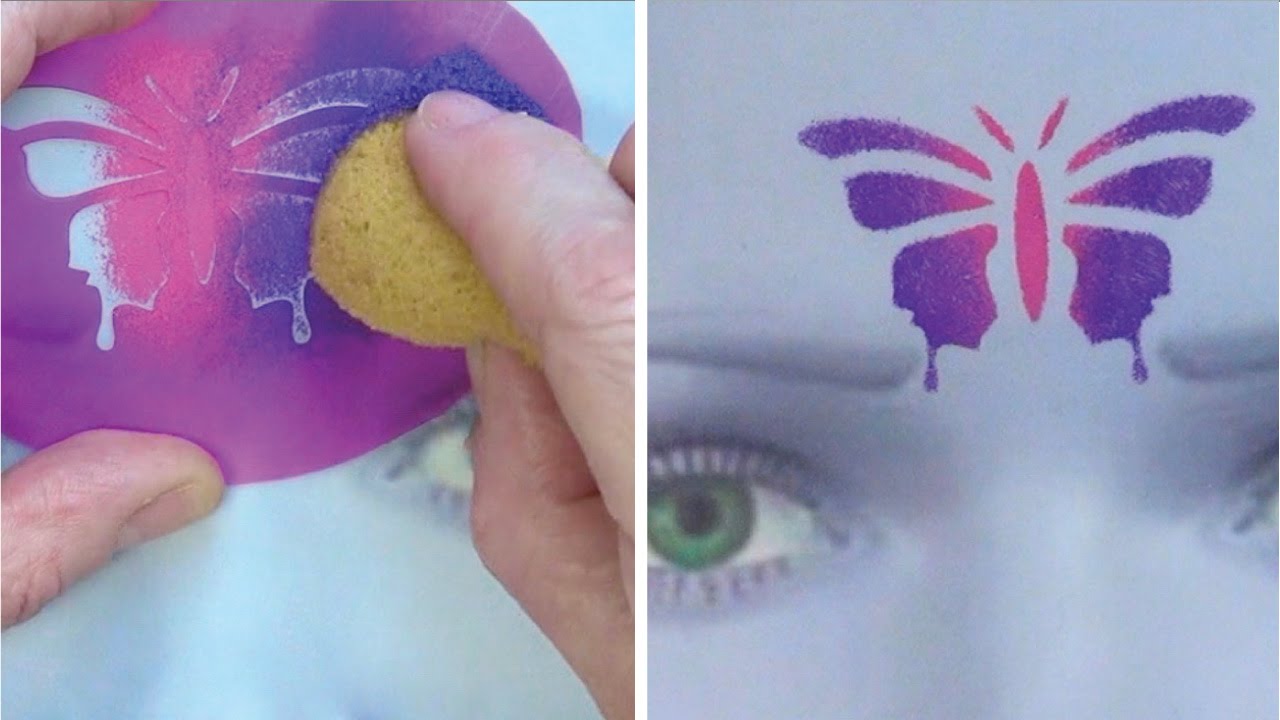
If the shape is part of a stencil sheet with several patterns, cover the other shapes with paper taped in place or masking tape to prevent painting through close-set stenciled shapes. Use a stenciling brush or a wide brush (in proportion to the shape) or sponges dipped in paint. Dab the paint into the shape, going along the edge of the shape to capture the details.
The type of paint will depend on what is being painted. If possible, test the paint on an inconspicuous part of the object to make certain the paint won’t run or bleed. Use stencils to paint wood, paper, or fabric.
Embossing With Stencils
Embossing creates a raised image of the stencil’s shape on paper. Smaller shapes tend to look better than large shapes. Tape the stencil to a window. Hold a piece of paper, right side (if there is one) facing the window, over the stencil. Then, using an embossing tool or a small-size crochet hook (anything with a small tip that isn’t sharp can work), trace along with the stencil’s shape. The paper will push into the stencil. Remove the paper and flip it over to see the raised or embossed design on the paper.
Stencils made from paper won’t provide enough space for the embossing tool to push the design through the paper. Decorate cards, place cards, or other small objects. Carefully color the raised design with a marker, if desired. Another interesting design option is to use a pushpin to poke holes around the outline or trace with a fine point pen.
Creating a Reverse Stencil
Trace the stencil shape with a pencil onto cardstock or thin cardboard and then cut out the shape. Set the shape on a piece of paper or fabric. With paint and a brush or sponge, start on the cutout shape and sweep the paint off the shape. Continue all the way around the shape. When the cardboard shape is removed, the shape will be white with the color defining the shape. Using crayons, markers, or colored pencils is also an option.
Repeat the pattern several times over the object, changing the color each time and placing the reverse stencil close enough that the paint or crayon marks will just touch. This would be a great way to decorate gift wrap paper, a box, or even a journal cover.
Many stencils can be used to trace shapes that can be colored in with crayon, marker, or colored pencil. Dab paint into stencils or trace the outline with a rounded-tip object to create a raised or embossed design. Stenciled or embossed designs can embellish handmade cards and gift wrap, treasure boxes, clothing, tote bags, and more.